Day 1 playing with LightBlue Bean, a low energy Bluetooth Arduino microcontroller I got at SF Hardware Startups Meetup the other day :)
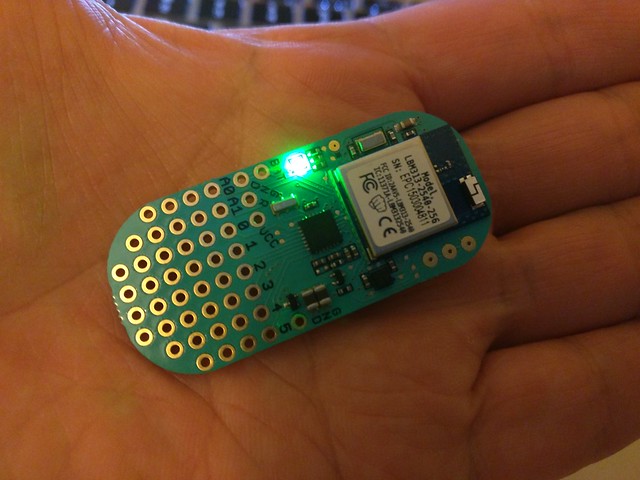
Using Bluetooth 4.0, it can be programmed wirelessly, runs on a coin cell battery, and can be used for smartphone controlled projects.
LightBlue Bean website
Main Site: https://punchthrough.com/bean/
User Guide: http://punchthrough.com/bean/arduino-users-guide/
Video
Spec:
3-axis accelerometer
Temperature sensor
RGB LED
CR2032 coin cell battery
ATmega 328p
8 MHz clock speed
3V operating voltage
6 digital I/O pins, 2 analog pins
Bluetooth LE Peripheral
Wireless programming
Support on OS X, iOS, Windows 8
Controlling LightBlue Bean from Mac:
Installed Arduino app, OSX bean loader and associated the 2 in the setting and connected with my Bean.

Hello world! Blinked my Bean from Arduino app.

Cool, I've got the Bean blinking in red, blue and green rotation.
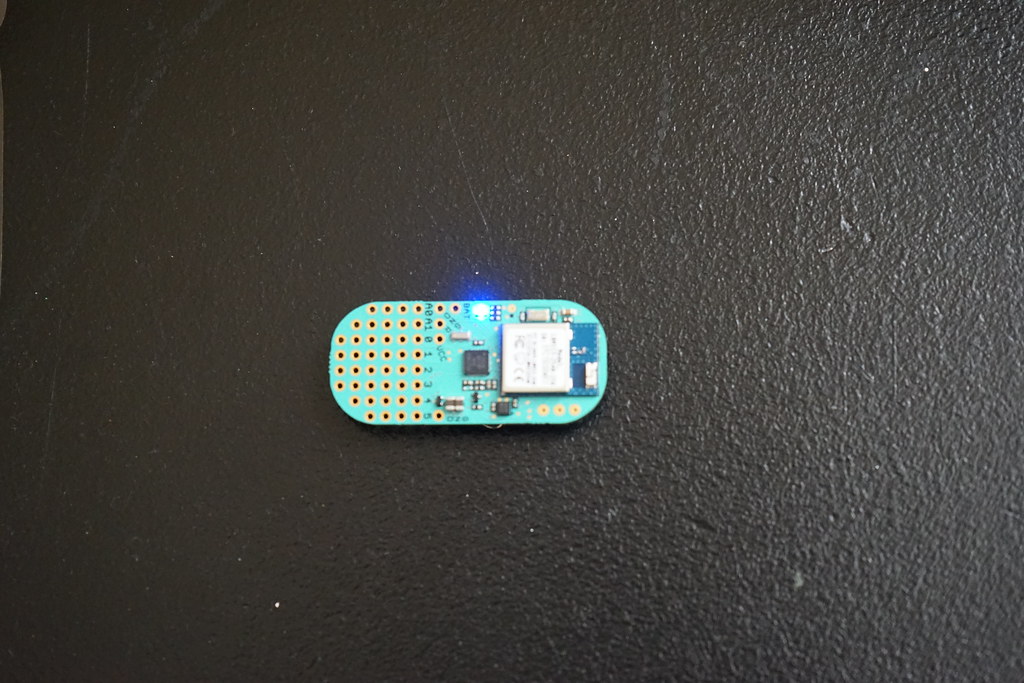
Acceleration LED- changed LED color based on accelerometer.

Controlling LightBlue Bean from cloud (using Node-RED):
Tweet sentiment to LED using Node-RED
Used Node-RED to set the color of the LightBlue Bean’s LED based on the sentiment of a Twitter feed.

OK... so grabbing some small Twitter stream was hard to tell if anything is happening so grabbed all of tweets and the sentiments of the Twittersphere was going nuts with "great", "neutral" and "awful" :)
Email temperature warning system using Node-RED
Used Node-RED to send an email whenever the temperature drops below or exceeds a threshold. Node-RED connects to the LightBlue Bean once a minute, requests the temperature and sends an email if the temperature is outside the set interval. Install Node.js, install Node-RED and run it.

I think it's running but my room temperature is too stable... maybe I need to put the Bean in refrigerator? ;P
Other example projects: http://punchthrough.com/bean/examples/
Controlling LightBlue Bean from Android:
Installed BeanLoader Android app.
In the app, there are lots of sample apps. For example:
AccelerationLED > Changing LED color based on accelerometer
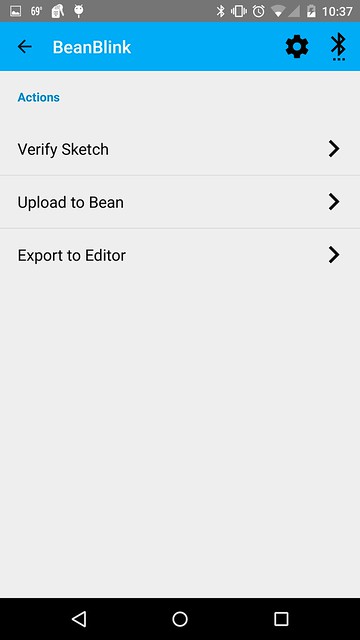
BeanBlink > Changing LED color rotating among red, green and blue
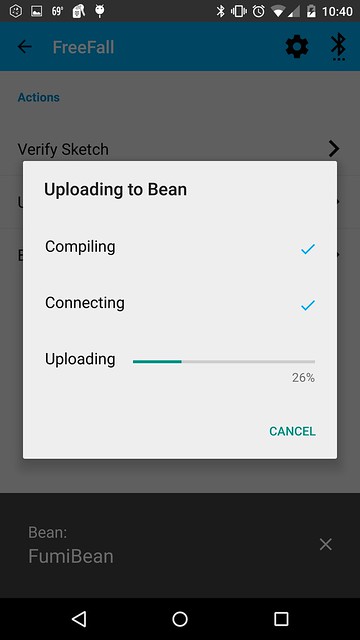
Basically you select the sketch, verify the sketch and upload it to the Bean. You can also export the code to editor to read and edit the sketch.
Pin layout:

System view:

I need to think about what to create with this :D
Disclaimer: The opinions expressed here are my own, and do not reflect those of my employer. -Fumi Yamazaki
Using Bluetooth 4.0, it can be programmed wirelessly, runs on a coin cell battery, and can be used for smartphone controlled projects.
LightBlue Bean website
Main Site: https://punchthrough.com/bean/
User Guide: http://punchthrough.com/bean/arduino-users-guide/
Video
3-axis accelerometer
Temperature sensor
RGB LED
CR2032 coin cell battery
ATmega 328p
8 MHz clock speed
3V operating voltage
6 digital I/O pins, 2 analog pins
Bluetooth LE Peripheral
Wireless programming
Support on OS X, iOS, Windows 8
Controlling LightBlue Bean from Mac:
Installed Arduino app, OSX bean loader and associated the 2 in the setting and connected with my Bean.

Hello world! Blinked my Bean from Arduino app.

Cool, I've got the Bean blinking in red, blue and green rotation.
Acceleration LED- changed LED color based on accelerometer.

Controlling LightBlue Bean from cloud (using Node-RED):
Tweet sentiment to LED using Node-RED
Used Node-RED to set the color of the LightBlue Bean’s LED based on the sentiment of a Twitter feed.

OK... so grabbing some small Twitter stream was hard to tell if anything is happening so grabbed all of tweets and the sentiments of the Twittersphere was going nuts with "great", "neutral" and "awful" :)
Email temperature warning system using Node-RED
Used Node-RED to send an email whenever the temperature drops below or exceeds a threshold. Node-RED connects to the LightBlue Bean once a minute, requests the temperature and sends an email if the temperature is outside the set interval. Install Node.js, install Node-RED and run it.

Other example projects: http://punchthrough.com/bean/examples/
Controlling LightBlue Bean from Android:
Installed BeanLoader Android app.
In the app, there are lots of sample apps. For example:
AccelerationLED > Changing LED color based on accelerometer
BeanBlink > Changing LED color rotating among red, green and blue
Basically you select the sketch, verify the sketch and upload it to the Bean. You can also export the code to editor to read and edit the sketch.
Pin layout:

System view:

I need to think about what to create with this :D
Disclaimer: The opinions expressed here are my own, and do not reflect those of my employer. -Fumi Yamazaki


