I've tried 3D printing using Makerbot for the first time! Since I think many people will be doing similar things in the future, I will document what I did here and add links to some of the tools I used.
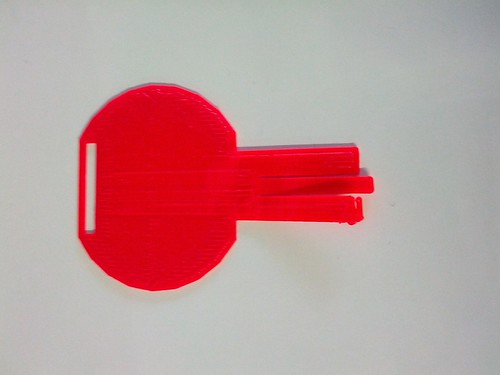
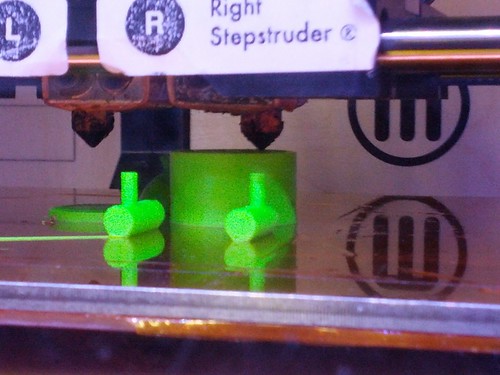
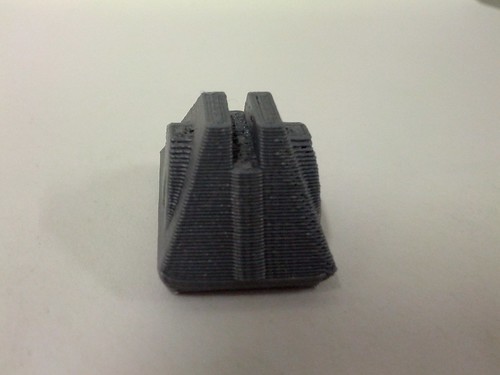
Accomplishment of the day!

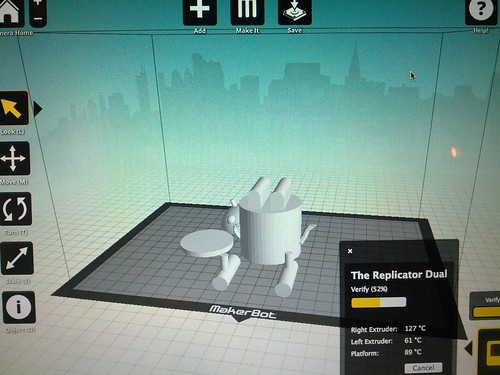
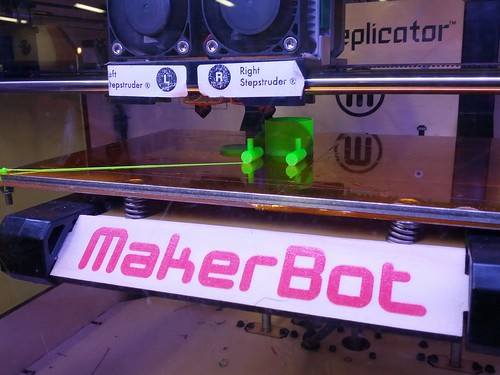
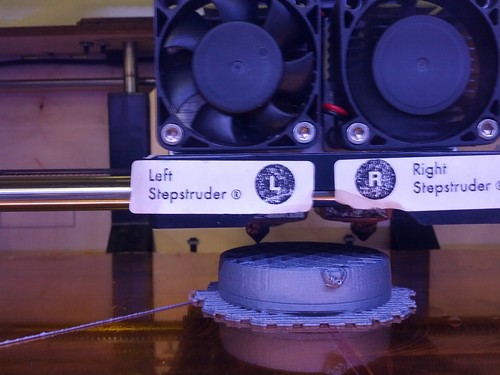
This is the Makerbot I used.

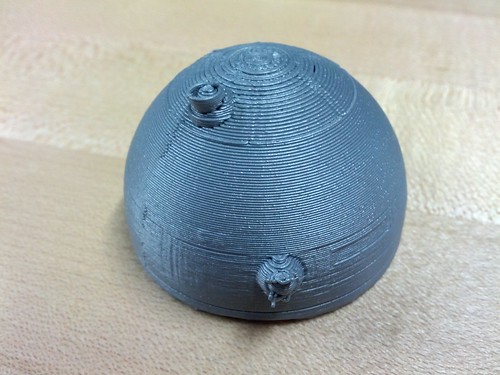
The easiest place to start is to print a sample model from SD card. Makerbot has a SD card slot, just put some data in a SD card, boot Makerbot, select "print from SD card", and you're all set. Easy! Since it's a test, just use something small, thin, so that you don't waste your resource!

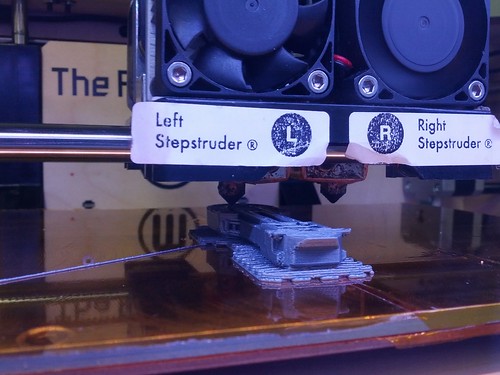
Cool. Next, I tried to get some softwares on my Mac and print via USB. I also wanted to make something more 3D.
The other thing I did was to change the color of the filaments. They have it written in the link below but is not very apparent- you need to push the grey ring covering the tube when you change the filaments.
http://www.makerbot.com/support/replicator/troubleshooting/
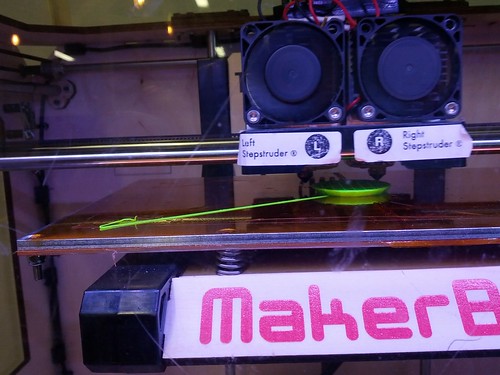
So I went to download Makerware. It's extremely easy to use, it's free, and has some sample 3D models.
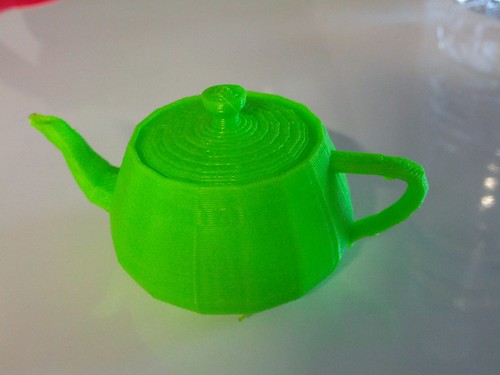
So I started printing a pot ;P
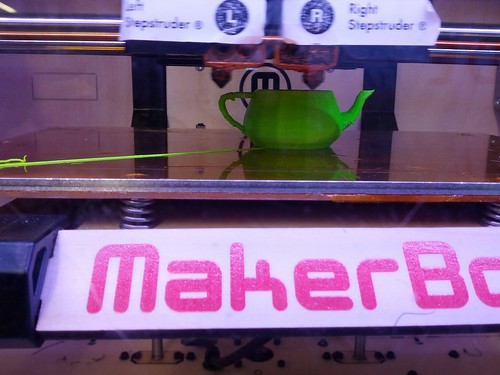
Done! (The quality is not very good, since I wanted to make it fast. You can actually control between speedy/high quality to slow/low quality)
Next, I wanted to start making things I wanted to make. I went to a website called Thingiverse where many people creates and shares their 3D models for 3D printing. Searched on "Android" at Thingiverse, and found a 3D model there.
Android Figure Customizable by frankkienl, and it's CC-BY-SA licensed. Awesome!

I'm fumi on Thingiverse by the way :)
http://www.thingiverse.com/fumi/
Imported it to MakerWare and started printing.

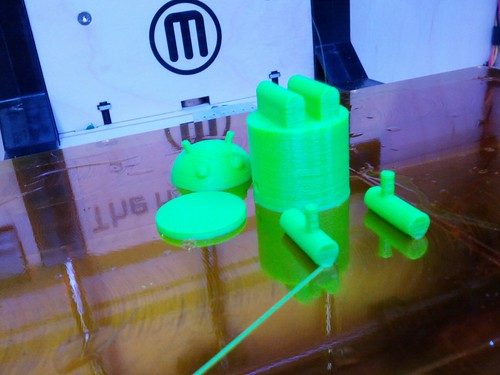
Houston, we have a problem! The arms of Android was too light and it came off and made everything wishywashy!
I was then advised that I should probably change the temperature. Also, I was told that I should be using a software called ReplicatorG since it has much more control over what you do.
http://replicat.org/
Downloaded ReplicatorG, changed the temperature to 230, also changed the scale to 50% since it was already 9PM or so... and the printing estimate said it will take 3 hours in the original size. Scaling it down to 50% made the printing time to 30 minutes. Yay!
Cool- this time it stuck!


Done!
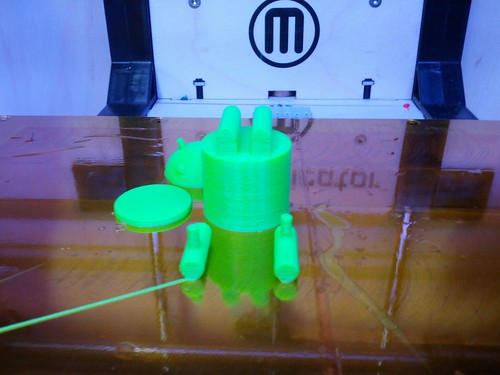
Honestly... the hardest part for me was pulling off this head part. It stuck on the platform so hard that I thought it was impossible to pull it off!
So this time I was just printing from a model that other people created, but if you'd like to tweak the model itself, Tinkercad allows you to do it on a browser (and it's free) so definitely check it out.
https://tinkercad.com/
3/26 Update: It looks like Tinkercad is going to be discontinued and the team is going to be starting "Airstone". Announcement here:

BTW- I did get Itokawa (asteroid) printed in the past, but the data was there, all I did was push a button, so that doesn't count.
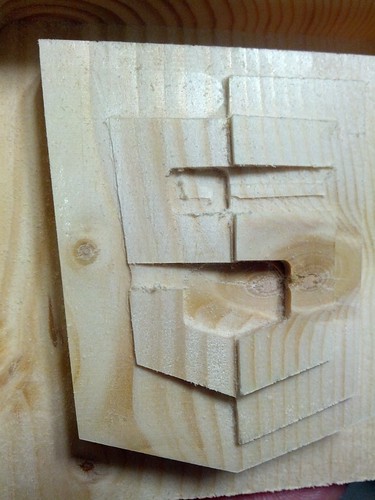
I've been making stuff with 3D mills in the past, but 3D mills and 3D printers are 2 different things. This is 2D data used to mill on acrylic boards.
Milling.... waiting...
Result!

Acrylics are pretty cool because if you put LEDs behind it, it will reflect the colors.
This one, I tried using a 2D HTML5 logo, put it on 3D modeling software and make a 3D data so that it looks cooler.
3/25 Note:
I heard that using Slic3r will make the slicing on ReplicatorG faster, so installed it.
http://slic3r.org/download
The problem is, I haven't figured out how to change the temperature setting with this ;)
3/29 Note:
Mashable: How 3D Printing Actually Works
4/5 Update:
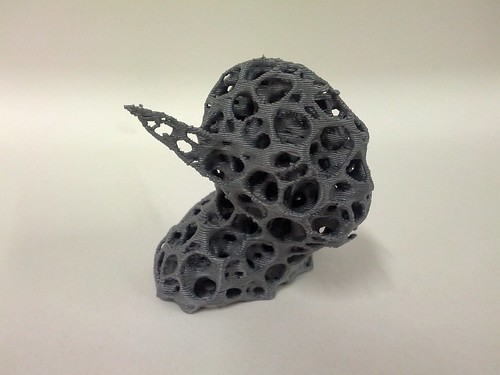
I wanted to do something more complicated, so I went on and created a 3D Yoda.
3D Voronoi Yoda - by @Dizingof
The original takes 8 hours to print, so decided to shrink it. 33% model takes around 40 minutes to print. Not bad!
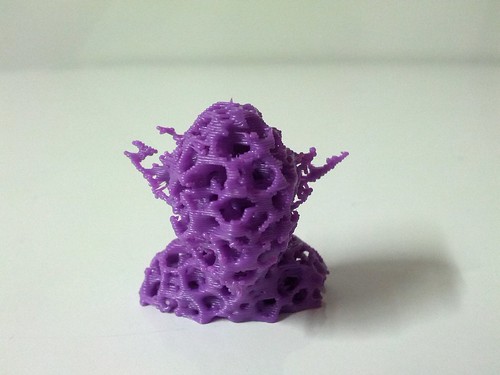
Err, I take it back. It is bad- it was too small so Yoda's ears could not hold... :(
Tried with 50% size, and this time it took 1 hour and 40 minutes.

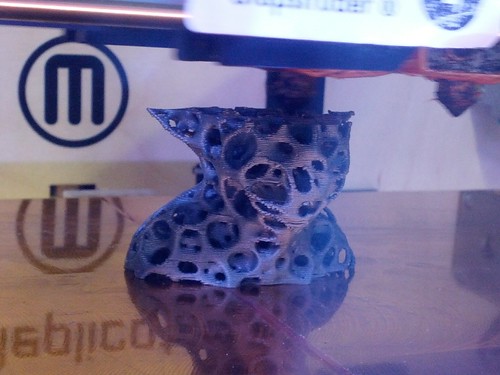
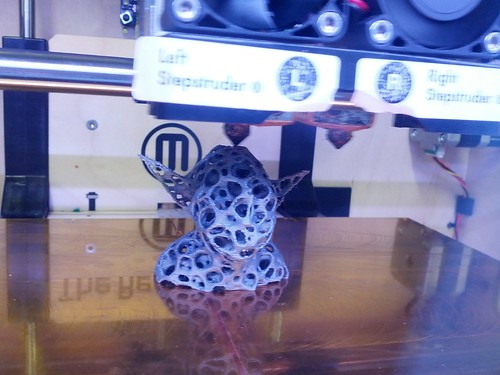
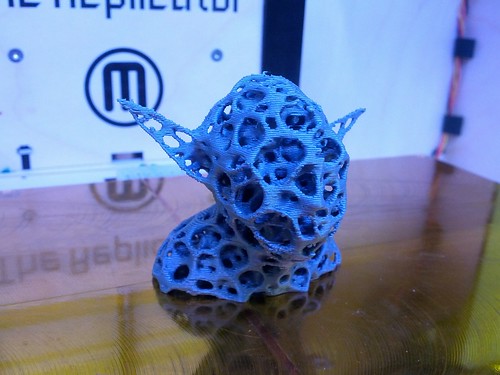
But it worked! From the front...
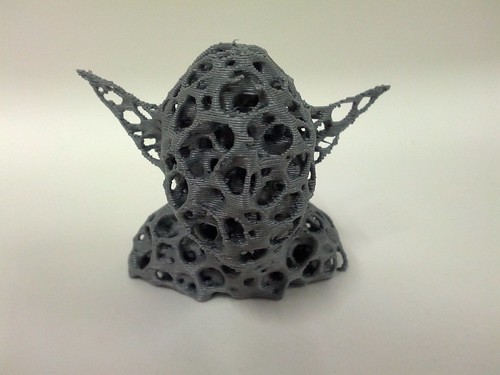
Right...
Left...
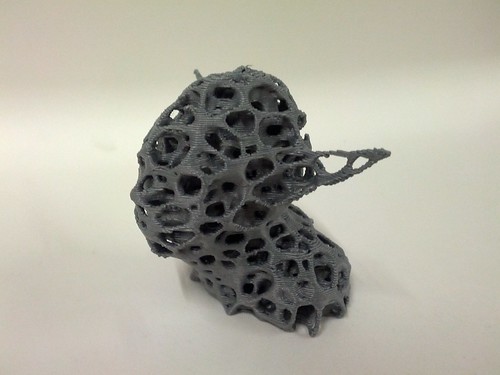
Back...
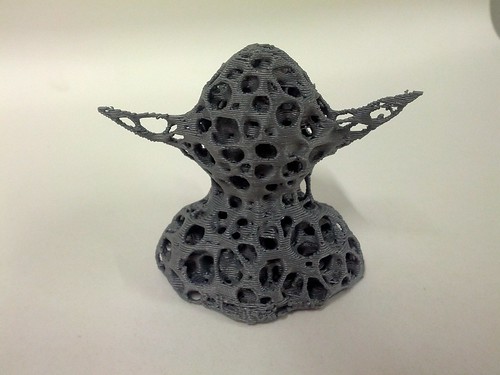
Perfect!
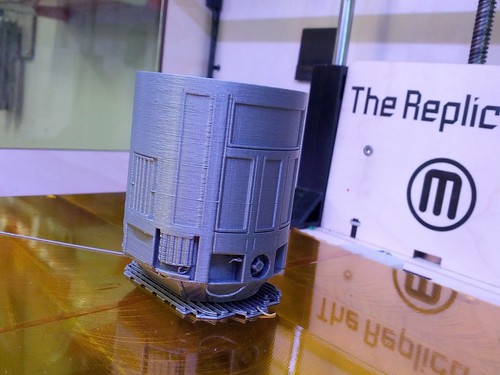
So my next step was to create something more complicated with multiple parts.
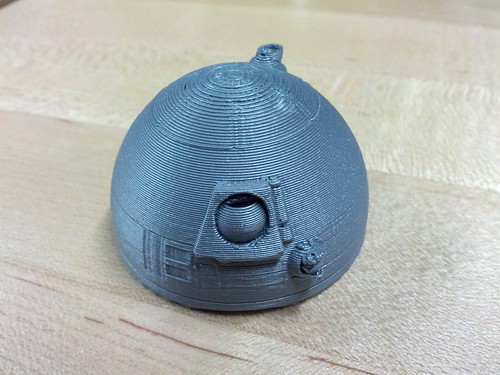
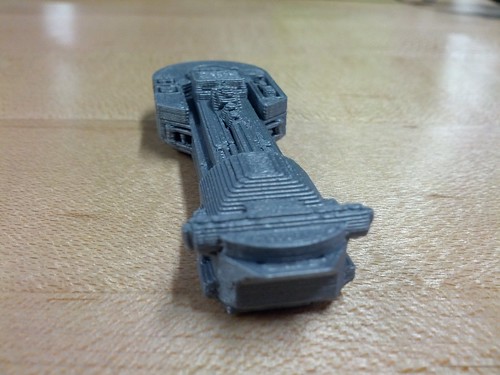
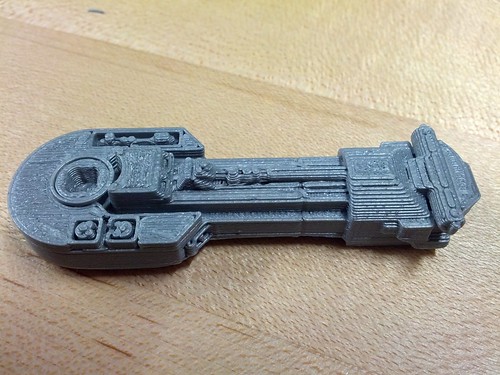
This R2D2 had 8 parts, and looks interesting.
R2D2 (derived from InnovationByLayer, fixed, turned)
So I started building it...
head
Feet and legs


Body
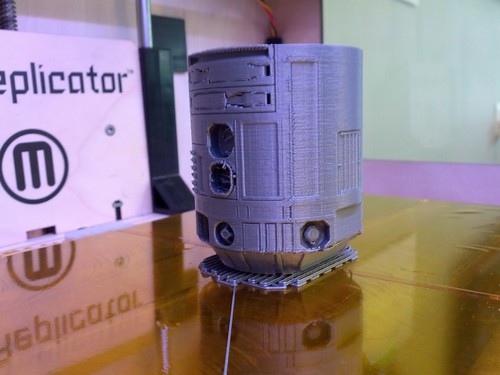
OK, this worked.
TODO:
The next step is using dual filaments.
I tried downloading this model, but the "glowing parts"is getting errors on ReplicatorG, so this might not work...
Ingress Xmp Burster
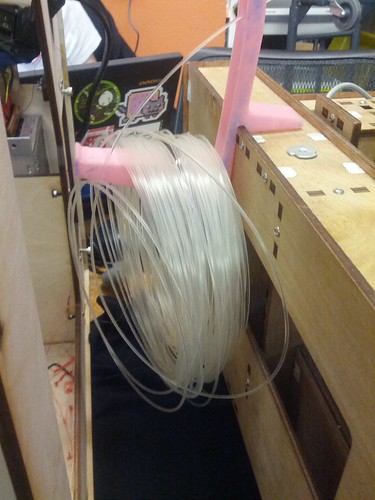
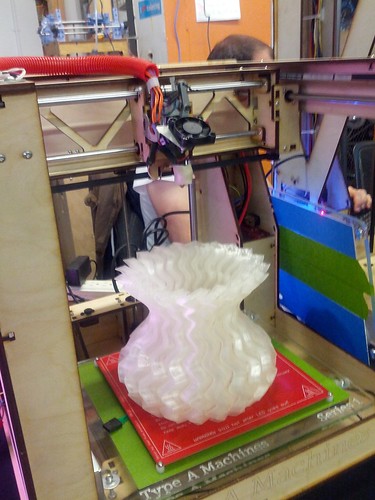
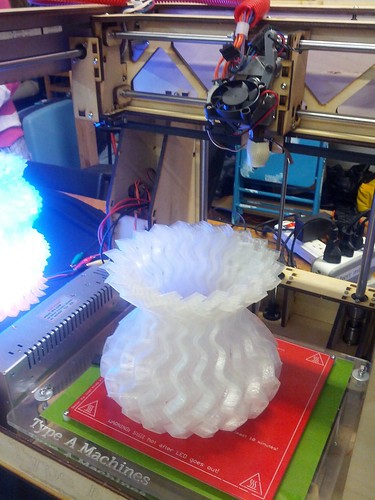
The other thing I want to try is using PLA filament instead of ABS (all of the printing I did so far is with ABS).
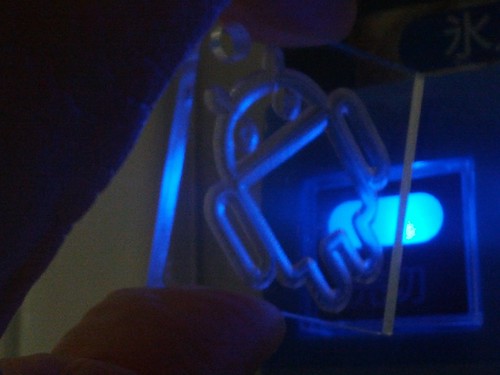
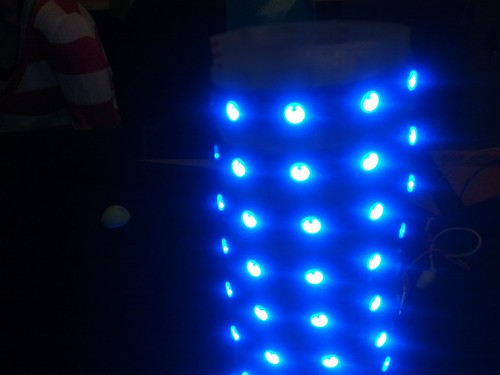
This is what they did at NoiseBridge with Makerbot using PLA filaments- transparent objects, and put LEDs that change their colors. Extremely cool.
Plastic and transparent filaments
This is how the lamps look.
And this is how the lamps look when you put the LEDs inside
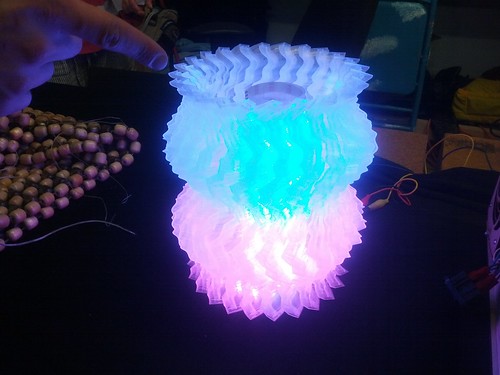
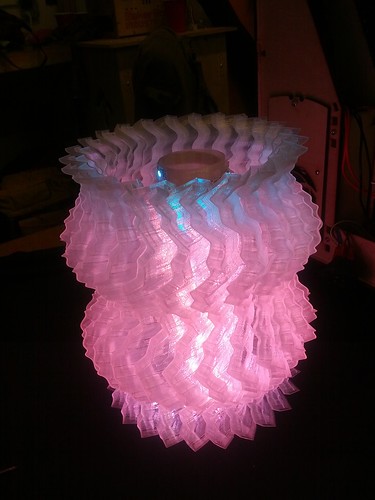


LEDs inside that changes colors

Disclaimer: The opinions expressed here are my own, and do not reflect those of my employer. -Fumi Yamazaki
Accomplishment of the day!
This is the Makerbot I used.
The easiest place to start is to print a sample model from SD card. Makerbot has a SD card slot, just put some data in a SD card, boot Makerbot, select "print from SD card", and you're all set. Easy! Since it's a test, just use something small, thin, so that you don't waste your resource!
Cool. Next, I tried to get some softwares on my Mac and print via USB. I also wanted to make something more 3D.
The other thing I did was to change the color of the filaments. They have it written in the link below but is not very apparent- you need to push the grey ring covering the tube when you change the filaments.
http://www.makerbot.com/support/replicator/troubleshooting/
So I went to download Makerware. It's extremely easy to use, it's free, and has some sample 3D models.
So I started printing a pot ;P
Done! (The quality is not very good, since I wanted to make it fast. You can actually control between speedy/high quality to slow/low quality)
Next, I wanted to start making things I wanted to make. I went to a website called Thingiverse where many people creates and shares their 3D models for 3D printing. Searched on "Android" at Thingiverse, and found a 3D model there.
Android Figure Customizable by frankkienl, and it's CC-BY-SA licensed. Awesome!

I'm fumi on Thingiverse by the way :)
http://www.thingiverse.com/fumi/
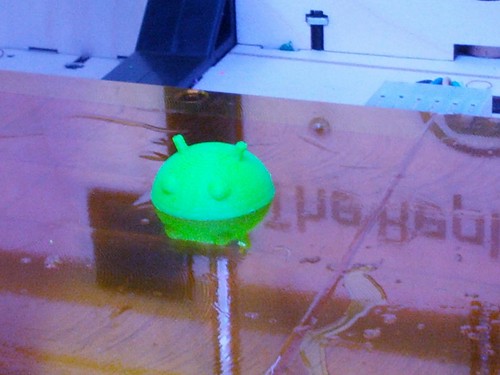
Imported it to MakerWare and started printing.
Houston, we have a problem! The arms of Android was too light and it came off and made everything wishywashy!
I was then advised that I should probably change the temperature. Also, I was told that I should be using a software called ReplicatorG since it has much more control over what you do.
http://replicat.org/
Downloaded ReplicatorG, changed the temperature to 230, also changed the scale to 50% since it was already 9PM or so... and the printing estimate said it will take 3 hours in the original size. Scaling it down to 50% made the printing time to 30 minutes. Yay!
Cool- this time it stuck!
Done!
Honestly... the hardest part for me was pulling off this head part. It stuck on the platform so hard that I thought it was impossible to pull it off!
So this time I was just printing from a model that other people created, but if you'd like to tweak the model itself, Tinkercad allows you to do it on a browser (and it's free) so definitely check it out.
https://tinkercad.com/
3/26 Update: It looks like Tinkercad is going to be discontinued and the team is going to be starting "Airstone". Announcement here:

BTW- I did get Itokawa (asteroid) printed in the past, but the data was there, all I did was push a button, so that doesn't count.
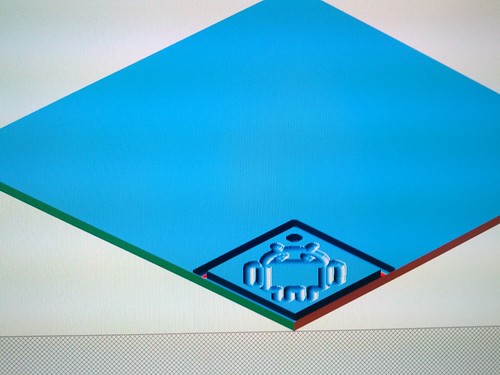
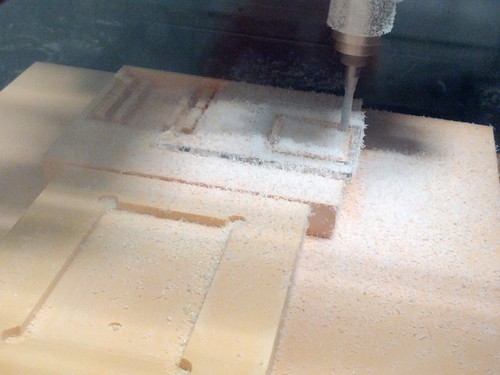
I've been making stuff with 3D mills in the past, but 3D mills and 3D printers are 2 different things. This is 2D data used to mill on acrylic boards.
Milling.... waiting...
Result!
Acrylics are pretty cool because if you put LEDs behind it, it will reflect the colors.
This one, I tried using a 2D HTML5 logo, put it on 3D modeling software and make a 3D data so that it looks cooler.
3/25 Note:
I heard that using Slic3r will make the slicing on ReplicatorG faster, so installed it.
http://slic3r.org/download
The problem is, I haven't figured out how to change the temperature setting with this ;)
3/29 Note:
Mashable: How 3D Printing Actually Works
4/5 Update:
I wanted to do something more complicated, so I went on and created a 3D Yoda.
3D Voronoi Yoda - by @Dizingof
The original takes 8 hours to print, so decided to shrink it. 33% model takes around 40 minutes to print. Not bad!
Err, I take it back. It is bad- it was too small so Yoda's ears could not hold... :(
Tried with 50% size, and this time it took 1 hour and 40 minutes.
But it worked! From the front...
Right...
Left...
Back...
Perfect!
So my next step was to create something more complicated with multiple parts.
This R2D2 had 8 parts, and looks interesting.
R2D2 (derived from InnovationByLayer, fixed, turned)
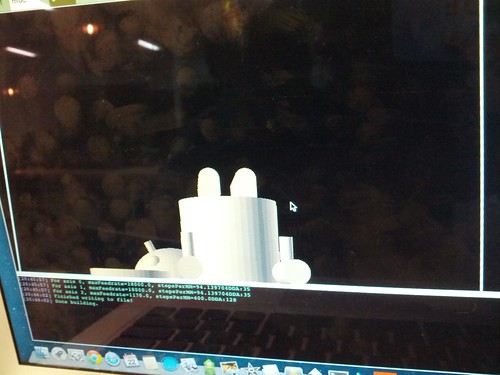
So I started building it...
head
Feet and legs
Body
OK, this worked.
TODO:
The next step is using dual filaments.
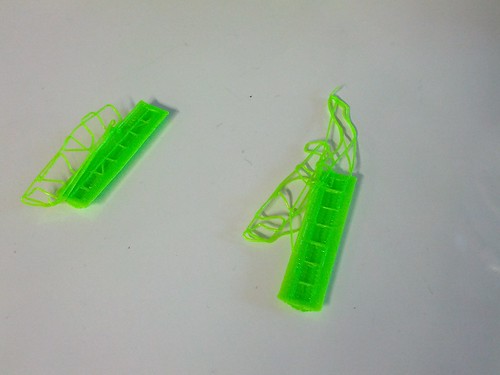
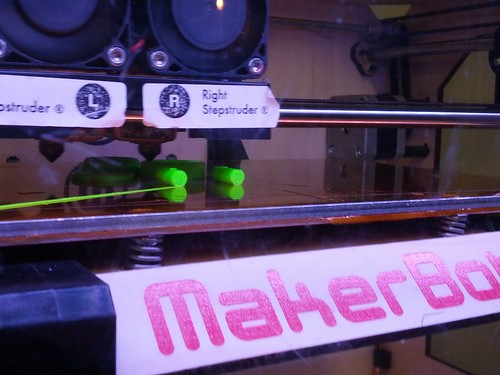
I tried downloading this model, but the "glowing parts"is getting errors on ReplicatorG, so this might not work...
Ingress Xmp Burster
The other thing I want to try is using PLA filament instead of ABS (all of the printing I did so far is with ABS).
This is what they did at NoiseBridge with Makerbot using PLA filaments- transparent objects, and put LEDs that change their colors. Extremely cool.
Plastic and transparent filaments
This is how the lamps look.
And this is how the lamps look when you put the LEDs inside
LEDs inside that changes colors
Disclaimer: The opinions expressed here are my own, and do not reflect those of my employer. -Fumi Yamazaki
0 件のコメント:
コメントを投稿